

But this is the first time I have made hip flowers! :-) I am recreating the flowers from the necklace in black velvet to put on the belt of my belly dance costume. And here is the result.

These are pretty much the same kind of flowers I used to make for my hair, only on a bigger scale. I liked them for my hair because they had were light-weight, had dimension, and didn't get all wilty and floppy when I sweat through them.
Here is how you go about doing it
(Diet Coke in picture above is optional, but highly recommended).
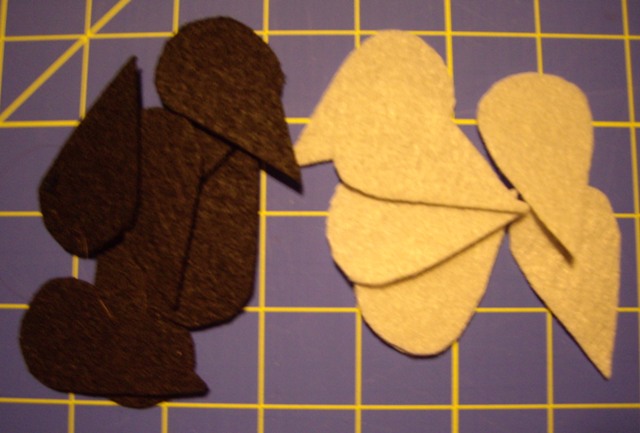
First, draw a flower and cut out a petal pattern. Then cut out a billion flower petals (or however many you need) in something that has some shape. I used stiffened felt here because I had it on hand, but you can also use denim or canvas or heavy interfacing. I have even used those funky foamie sheets in the past. The color doesn't matter because you will be covering them.
Grab some sort of wire stuff. I used 22 gauge beading wire, but have used pipe cleaners and floral wire in the past. Basically you want something stiff enough to hold its shape, but not so stiff that it isn't a bit malleable. Sew the wire stuff around the edges of the petal.

Cut a piece of your fabric slighly bigger than your petal. Since my velvet is stretchy, I didn't need a piece much bigger than the petal; you might need a bit more leeway if your fabric has no stretch or cut it on the bias. Run a gathering stitch around the edge of the fabric. Before you pop the fabric on the petal, bend the petal into the approximate shape you want. You can make some adjusting later, but if you cover it while it is flat, it won't be as smooth later on.

Once all your petals are all covered and pretty, cut a circle of fabric/felt/interfacing that is smaller than your finished flower. You can then attach all the flowers at the center point. Be careful to keep your stitches near the center so they won't show around the edges of whatever center pretty you put on your flower. Depending on what look you want, you can sew partway up your petals, but make sure your stitches can't be seen in the front. This is the underside of my flower after all the petals were stitched onto the center circle.

Adjust the bendyness of your petals until it is all purty. Then attach a button or a sparkle or another fancy of your choice in the center to cover the stitches there.

Voila!!
EXPERT TIP:
The more cats you manage to pile on your lap while you are working, the better your flowers will turn out. :-D

4 comments:
Pretty! I love a good fabric flower. Thank you for the detailed tutorial.
Here's to cats, who always know when it's time for a good lap!
Great flowers, and I LOVE the lap cats!
Hi! Greetings from Finland! Your quilts are so fantastic! It's so nice to find other quilters all around the world! www.quiltworld2.blogspot.com
Yours, Ulla
Post a Comment